

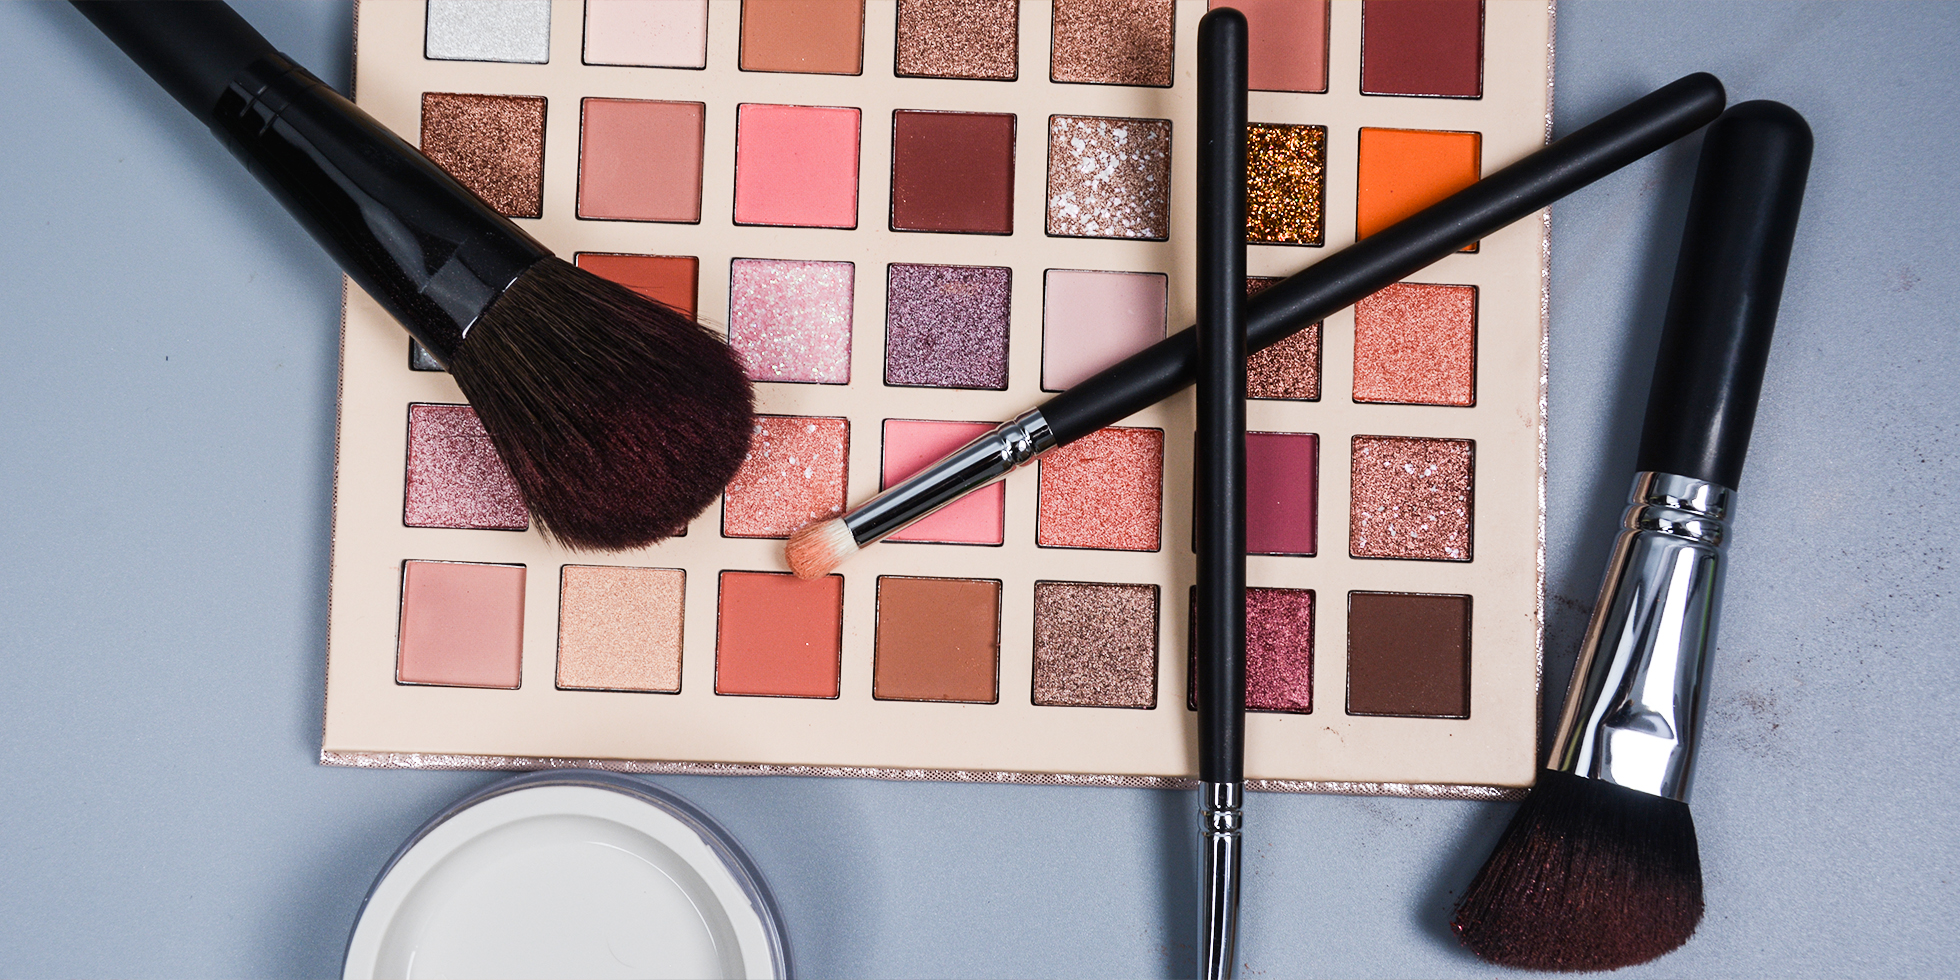
Most people don’t clean their makeup brushes and sponges often enough, and some folks never clean them at all. But dirty makeup brushes can cause all sorts of hygiene and health issues, from acne to E. coli infections. Professionals we spoke with—including a dermatologist, a makeup-brush designer, and makeup artists—recommend that you clean your makeup brushes at least once a week.
Makeup brushes accumulate sebum, pollution, dust, bacteria, dead skin cells, and product buildup,
Eye-area brushes and those used for liquid makeup should be washed after every use because germs typically thrive in moist environments.
Whether you have brushes with natural hair bristles, a set of synthetics, or a bunch of “beauty blender”–style sponges, proper cleaning usually takes less than a minute per tool and has benefits beyond purely hygienic ones. Cleaning your brushes prolongs their lifespan, and clean tools help makeup apply more smoothly.
what you need?
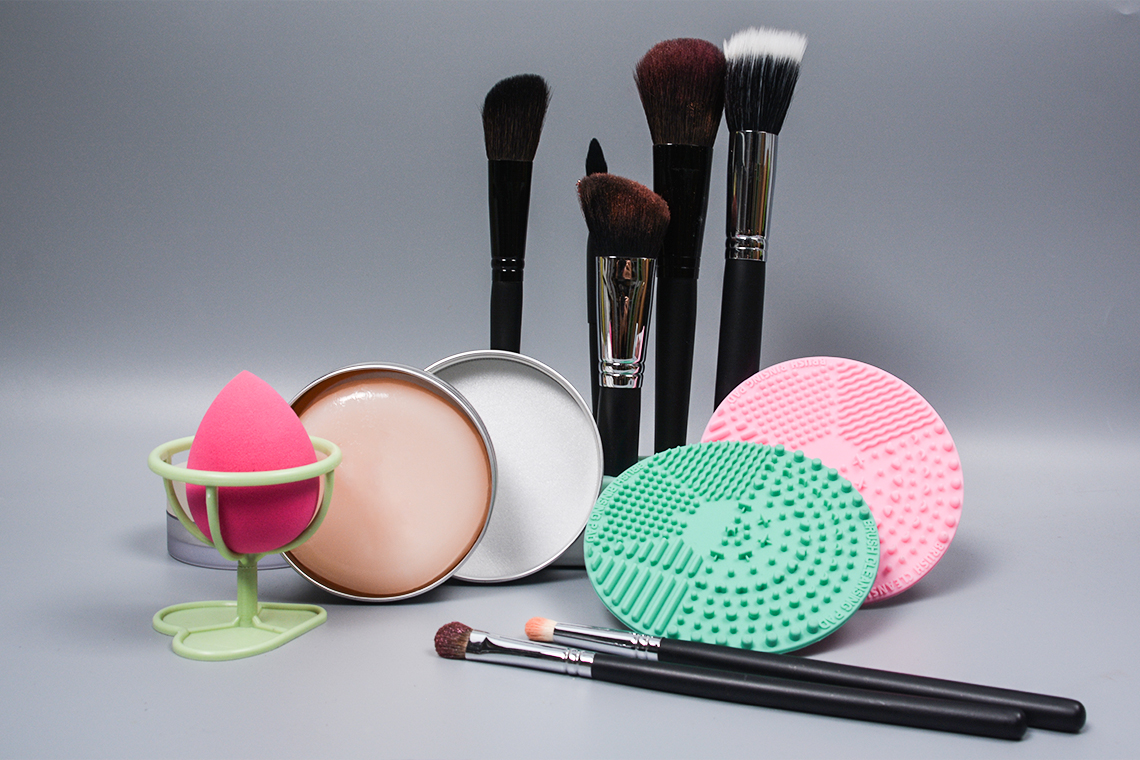
To thoroughly clean makeup brushes and sponges, you will need:
Soap: A brush cleaning soap is a popular choice for synthetic brushes.It’s antibacterial and gets rid of stubborn buildup, our custom soap (filling soap or block soap)is gentle, effective, and safe for all brushes, including natural-haired ones.
Warm to lukewarm water: against using hot water to clean your brushes because it can damage the bristles and ferrule (the metal part of the brush).
Brush-washing mat: You can, of course, use your hand to work soap into each brush. But recommends using a brush-washing mat with grooves that help clean between all the bristles. We like this one with suction cups on the bottom.A bar of soap acts as its own washing mat, though it lacks the clean-enhancing grooves.
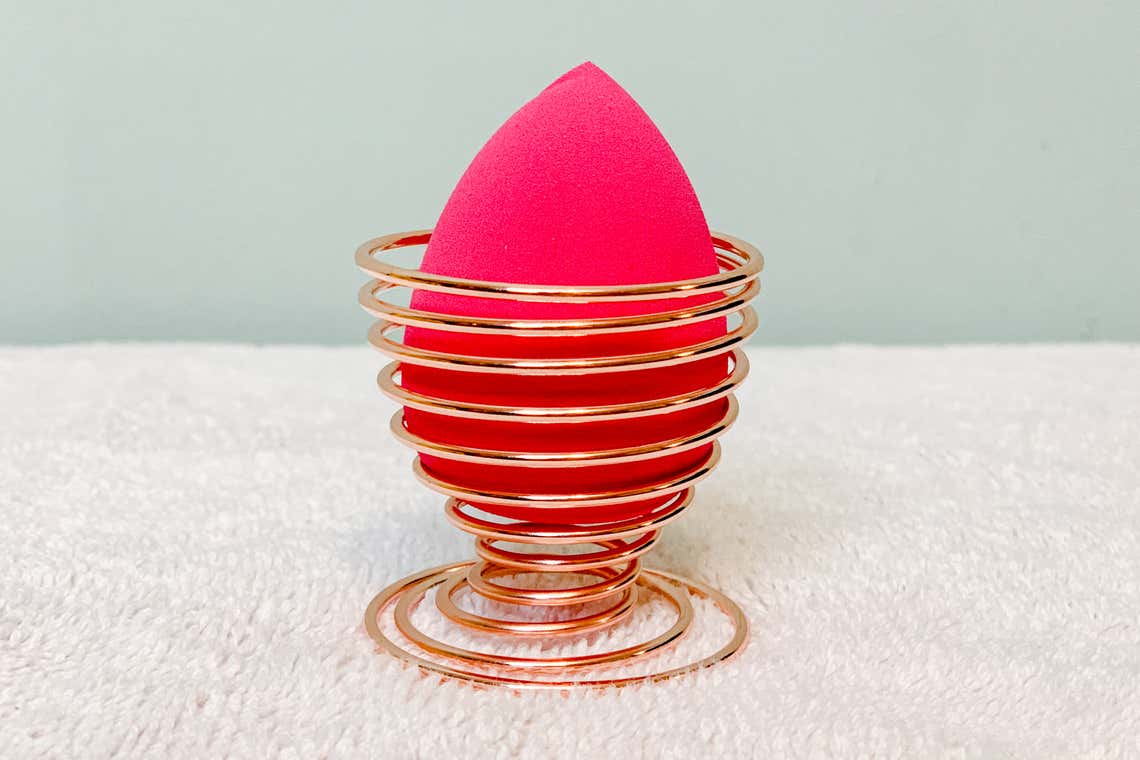
stander for sponges to let it get dry,To keep water from damaging the handles of your makeup brushes, they should always be dried lying flat. This drying rack is also great for storing brushes between cleanings, and this wire holder is good for drying sponges.
Mesh covers: Consider sliding mesh covers over freshly washed brush heads. This will help keep them properly shaped by staving off bristle fray, and these covers still allow plenty of airflow for drying.
How long will this take to clean?
With makeup-cleansing wipes, it takes just a few seconds to clean each brush you use around your eyes and/or with liquid makeup. And it takes less than a minute to deep-clean each of your tools with soap and water. Air-drying, though, can take several hours.
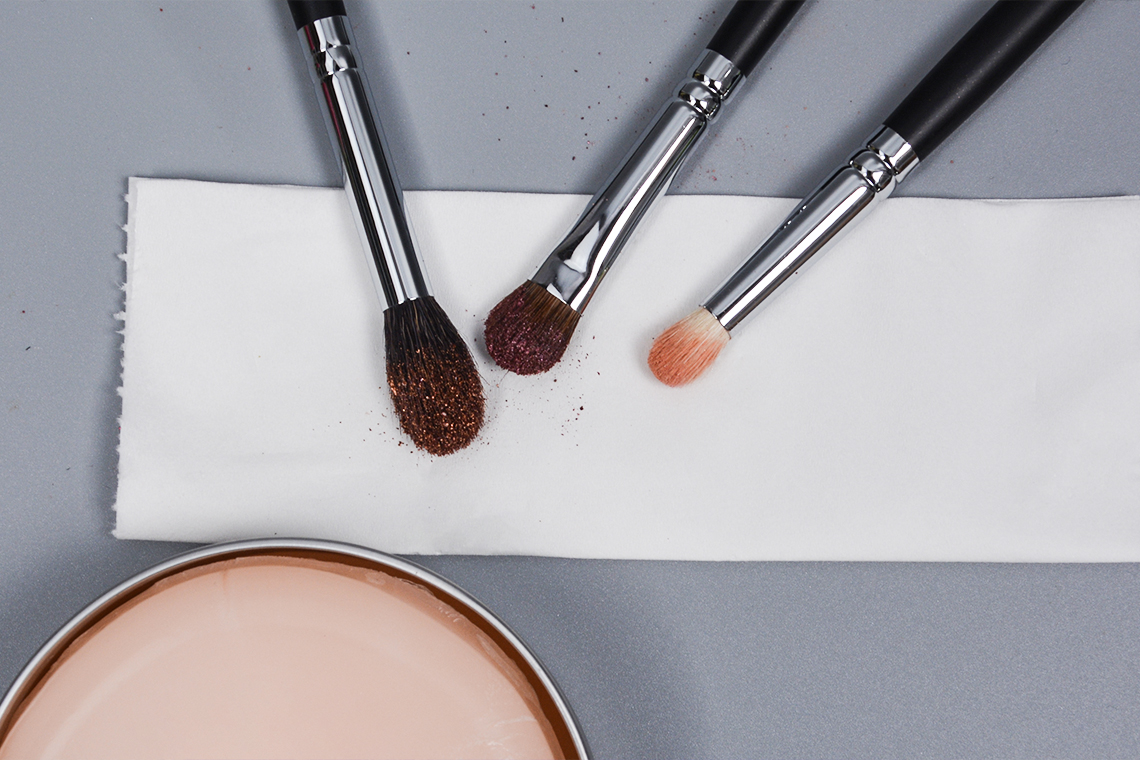
Lather up,Rinse and squeeze
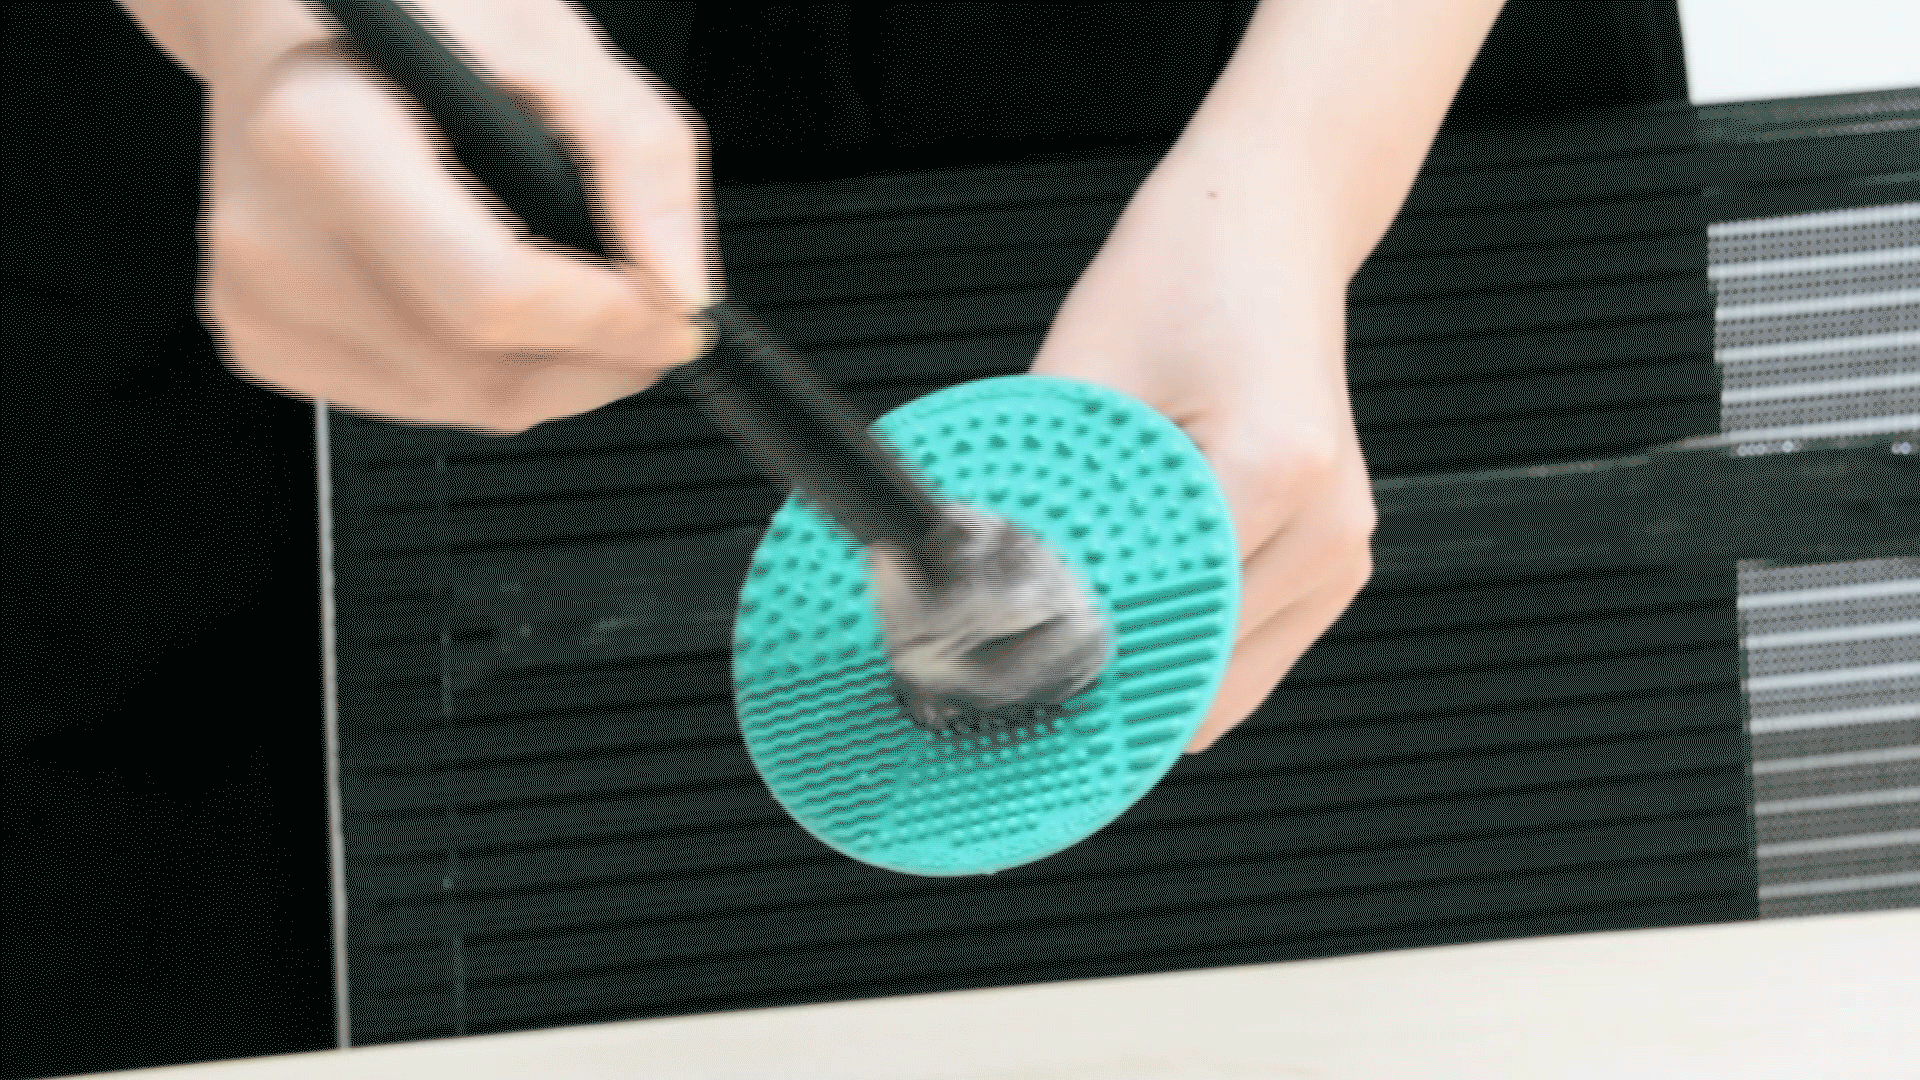
Get started by wetting your bar of soaponto your palm or a brush-washing mat. Then, using lukewarm to warm water, wet the bristles of a dirty brush. Using a gentle circular motion, rub the brush head directly into the soap for about 15 seconds, to loosen any product buildup. Always clean brushes individually,That way you ensure you’re washing out all impurities.
Rinse the bristles in lukewarm water until they run clean. Try to avoid letting water seep into the ferrule or the brush handle. Substantial water intrusion could cause your brush to fall apart, Casper said. You can expedite the drying process by gently squeezing water out of the bristles. To minimize shedding and fraying, be sure not to pull on the bristles as you squeeze them.
Sheath and dry
To keep freshly cleaned brush heads properly shaped, wrap them with mesh covers. To speed up air-drying, suggests laying brushes flat, with the brush heads hanging over the edge of a table or sink. You can also use a drying rack so that your brushes dry evenly on both sides. Never dry brushes upright (bristles pointing skyward) because water seepage can loosen the glue that binds the hairs together and cause excessive shedding,
Air-drying can take anywhere from a few hours to a few days. You can use a blow dryer on cool to speed up the process, though this can lead to misshapen bristles.
Store properly
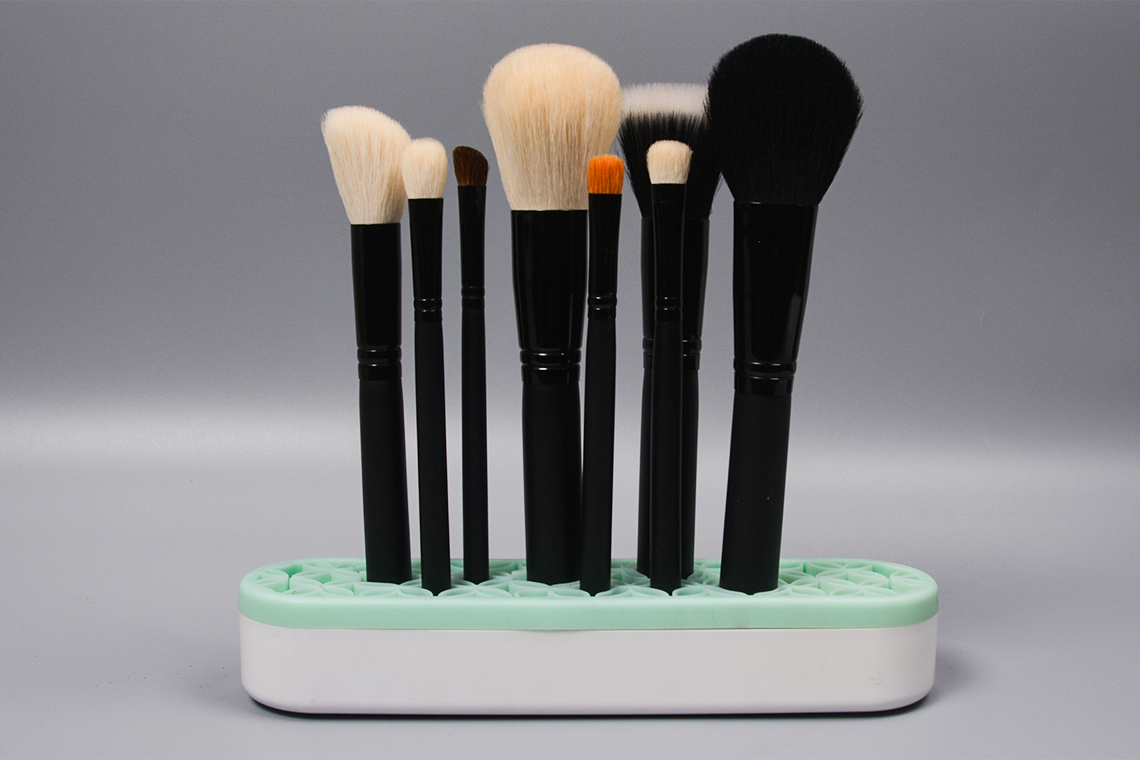
A set of brushes stored with the bristles up in a drying rack.
To avoid cross-contamination, recommend that you store clean, fully dry brushes separate from your makeup. You can store brushes, with the bristles up, in your drying rack or in a makeup bag—just be sure to keep the bag as clean and dry as your brushes.
What about makeup sponges?
Sponges for liquid makeup should be washed after every use because they can absorb a ton of product, which can breed bacteria. Makeup cleansing sprays and wipes won’t fully clean sponges. You have to use soap and water.
Because makeup sponges can take up to a few days to fully dry after washing, we suggest having a few to rotate through so you always have a clean one handy. Then you can batch-wash used makeup sponges (along with your brushes) weekly, using the same lather-rinse-squeeze method.
We like to dry and store clean sponges in this purpose-built holder, which is a convenient upgrade to balancing a drying sponge on a ledge and having to rotate it so all sides dry fully.
Post time: Oct-14-2021